Form & Technique
How to Do a Bent-Over Row Correctly
Learn how to do a barbell row with safe, effective form. Step-by-step bent-over row technique for beginners, plus common mistakes to fix.
The bent-over row is one of the best upper-back exercises a beginner can add to their program. It trains the muscles that pull your shoulders back, strengthens your lats and rear delts, and builds the kind of back that holds up well under a loaded squat or deadlift. In other words, it earns its place.
The catch is that the setup feels a little awkward at first. You are hinged forward, holding a barbell, and pulling it toward your torso while keeping your back flat. That is a lot to coordinate when you are new to it. This guide breaks the movement down step by step so you can learn the row technique once and do it right from the start.
What You Need Before You Start
You do not need much. A barbell and some weight plates are the standard setup. If you are training at home without a barbell, a pair of dumbbells can work for the same movement pattern. Either way, start lighter than you think you need to. Good form requires you to feel and control each rep, and that is easier when the weight is not fighting you for the first few sessions.
If you have any history of lower-back pain or shoulder issues, talk to a doctor or physical therapist before adding rows to your training. The hinged position places some demand on the lumbar spine, and it is worth getting a professional opinion if you have concerns.
How to Set Up for the Bent-Over Row
Getting your starting position right makes the rest of the lift much simpler.
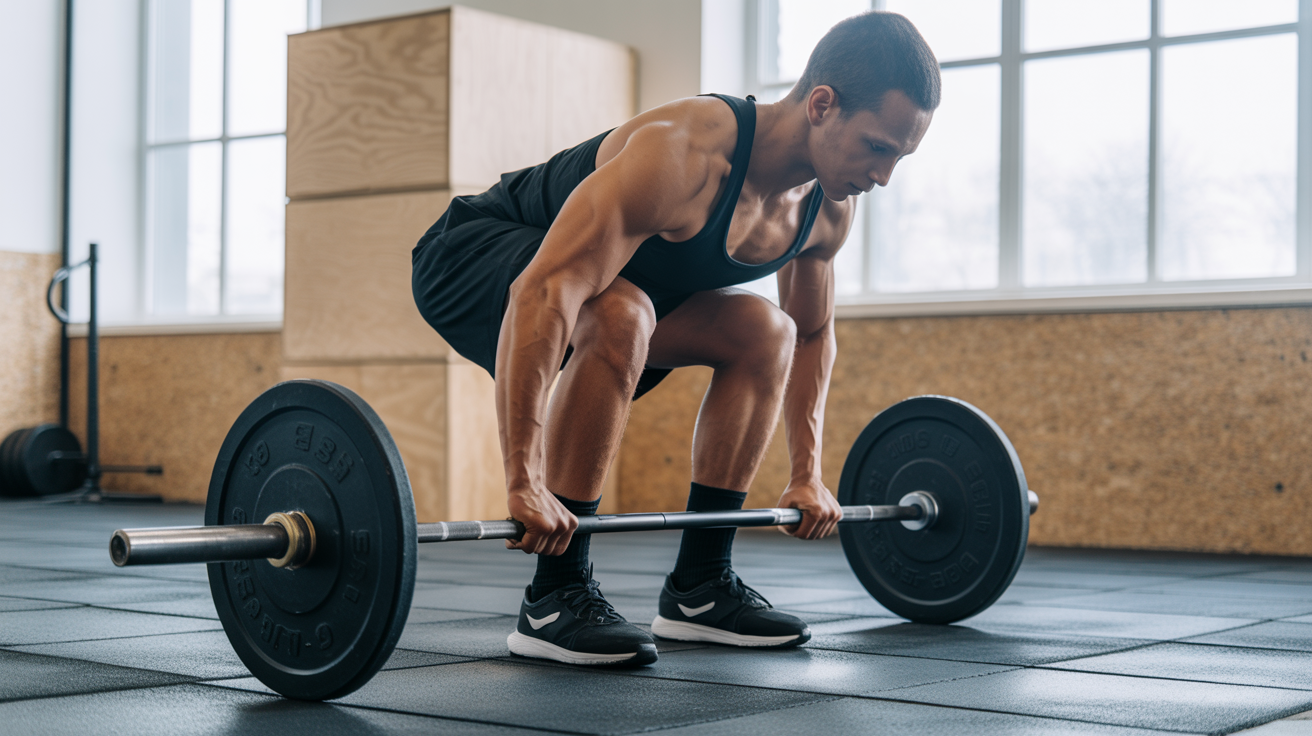
Stand with the barbell over your mid-foot, feet about hip-width apart. Hinge at the hips by pushing them back, letting your torso tip forward until it is roughly parallel to the floor (or somewhere between 45 degrees and parallel, depending on your proportions). Your knees should have a soft bend, not locked out and not deeply flexed.
Reach down and grip the bar just outside your knees. A double-overhand grip (palms facing you) is the most common starting grip for beginners. Your hands should be roughly shoulder-width apart, though you can adjust slightly based on what feels natural.
Before you pull anything, set your back. This means:
- Lift your chest slightly so your spine comes into a neutral position (not rounded, not hyperextended).
- Pull your shoulder blades together and down, away from your ears.
- Brace your core like you are about to absorb a light punch.
That braced, neutral-spine position is the foundation of bent-over row form. It protects your lower back and puts your pulling muscles in a good position to do the work.
How to Perform the Row
With your back set and the bar in your hands, you are ready to pull.
Breathe in, brace your core, and drive your elbows up and back toward your hips. Think about leading the movement with your elbows rather than your hands. The bar should travel in a fairly straight path upward, making contact with your lower abdomen or upper hip area at the top of the movement.
At the top, your elbows should be above the line of your torso and your shoulder blades should be squeezed together. Hold that position for a brief moment so you actually feel the contraction in your upper back.
Lower the bar with control. Do not just drop it. The controlled descent is part of the exercise, and rushing through it means you are missing half the training stimulus. Lower the bar until your arms are fully extended and your shoulder blades have spread back apart, then repeat.
One thing to watch: your torso angle. It is normal for it to shift slightly during a set, but try not to let your upper body swing or jerk to help the bar up. If that is happening, the weight is probably too heavy for where your form is right now.
Common Mistakes Beginners Make
These are the errors that show up most often when someone is learning how to do a barbell row.
Rounding the lower back. This is the one to take seriously. A rounded lumbar spine under load can cause injury over time. If your back rounds when you row, lighten the weight and practice the hinge position before adding load again.
Pulling to the chest instead of the belly. When the bar travels too high and lands near your chest or collarbone, you shift the work away from your lats and onto your shoulders. Aim for your lower abdomen or upper waist.
Letting the elbows flare wide. Flared elbows tend to pull the work into your rear delts and away from your lats. Keeping your elbows at roughly a 45-degree angle to your torso (not pinned to your sides, not flying out) tends to give a better lat position for most beginners.
Jerking or using momentum. A controlled, deliberate row builds more muscle and is safer than a fast, sloppy one. If you can only complete reps by swinging, reduce the weight.
Neglecting the setup. Many beginners rush through the hip hinge and torso position to get to the "actual lift." The setup is the lift. A minute spent finding your position before you pull is a minute well spent.
How the Row Fits Into Your Training
The bent-over row pairs well with pressing movements like the bench press. Pushing movements and pulling movements balance each other out across the shoulder joint, which matters both for how you feel and for long-term shoulder health. Most beginner programs include rows alongside bench pressing for exactly this reason.
The row also complements the deadlift. Both movements load the posterior chain, but in different ways. The deadlift is a hip-hinge pull from the floor; the row trains the muscles that retract your shoulder blades while you are in a hinged position. Running both in the same program covers a lot of ground.
For beginners, two to three sets of five to eight reps per session is a reasonable starting point. As the weight starts to feel manageable and your form holds across all your reps, add a small amount of weight (two to five pounds) on your next session.
Frequently Asked Questions
What weight should I start with on the bent-over row?
Start light enough that you can do all your reps with a flat back and full control of the bar on the way down. For many beginners, this means starting with just the bar or a very modest amount of weight. There is no minimum weight to worry about. Form first, load second.
Should I use straps or a mixed grip?
For most beginners, a standard double-overhand grip is fine and will help develop grip strength alongside everything else. Straps can be useful if grip fatigue limits your sets before your back muscles tire, but most beginners do not need them right away.
How is the bent-over row different from a dumbbell row?
Both train the same muscles. The barbell version requires you to hold a hinged position through the entire set, which trains your lower back and core to stay braced under load. The dumbbell version, done with one knee and hand on a bench, takes some of that demand off your lower back. Both are useful; beginners with any lower-back sensitivity may find the dumbbell row easier to start with.
My lower back gets tired before my upper back. Is that normal?
Early on, yes. Your lower back is working to hold your torso in the hinged position while your upper back is pulling the weight. As your posterior chain gets stronger and you get better at bracing, this tends to balance out. If your lower back hurts (sharp or shooting pain, not just fatigue), stop and consult a professional before continuing.
How often should beginners do bent-over rows?
Most beginner programs train the row two to three times per week. Recovery between sessions is where the adaptation happens, so more is not always better. Follow a structured program's recommendations rather than adding extra sets on top of what is already there.