Form & Technique
How to Deadlift Safely as a Beginner
A complete beginner's guide to deadlift form and technique. Learn the hip-hinge pattern, common mistakes to avoid, and how to start lifting safely.
The deadlift is one of the most effective exercises you can do. It builds the whole posterior chain, glutes, hamstrings, back, and teaches your body to produce force from the floor. It also has a reputation for being dangerous, which is only partly deserved. Done with good technique and sensible loading, it's no riskier than any other compound lift. Done with a rounded back and a weight you can't control, it's a different story.
This guide covers everything a beginner needs to know: the hip-hinge pattern that makes the deadlift work, step-by-step setup and execution, the mistakes that actually cause injury, and how to build up safely from zero.
Important note: If you have a history of lower back problems or any spine condition, talk to your doctor before you start deadlifting. When in doubt, get a qualified coach to watch your first few sessions in person. No guide replaces eyes on the bar.
The Hip Hinge: What the Deadlift Actually Is
People sometimes describe the deadlift as "picking something up off the floor," but the mental model that matters is the hip hinge. A hip hinge means bending at the hips while keeping the spine neutral, not squatting down, not rounding forward, but hinging back.
To feel this, stand a foot away from a wall and push your hips back until they touch it. Your chest drops, your hamstrings stretch, and your back stays long. That's the movement. Now imagine the bar on the floor in front of you, and you're reaching down to grab it by folding at the hips.
The deadlift is not a squat with the bar on the floor. In a squat, the hips drop low and the torso stays upright. In a deadlift, the hips stay higher, the back angles forward, and the load is lifted by driving the hips forward. Mixing these up is one of the most common beginner errors.
To practice the hinge before loading it, try a hip-hinge drill with a dowel rod or broomstick. Hold it behind your back along your spine, one hand at the back of your head, one at your lower back. Hinge forward without losing contact at either point. If you can do that cleanly, your spine is staying neutral.
Proper Deadlift Setup: Step-by-Step
Before you pull, the setup is everything. A good starting position makes a good lift far more likely.
Stance and Bar Position
- Stand with the bar over your mid-foot (about an inch from your shins).
- Feet hip-width apart, toes pointing slightly out, maybe 10 to 15 degrees.
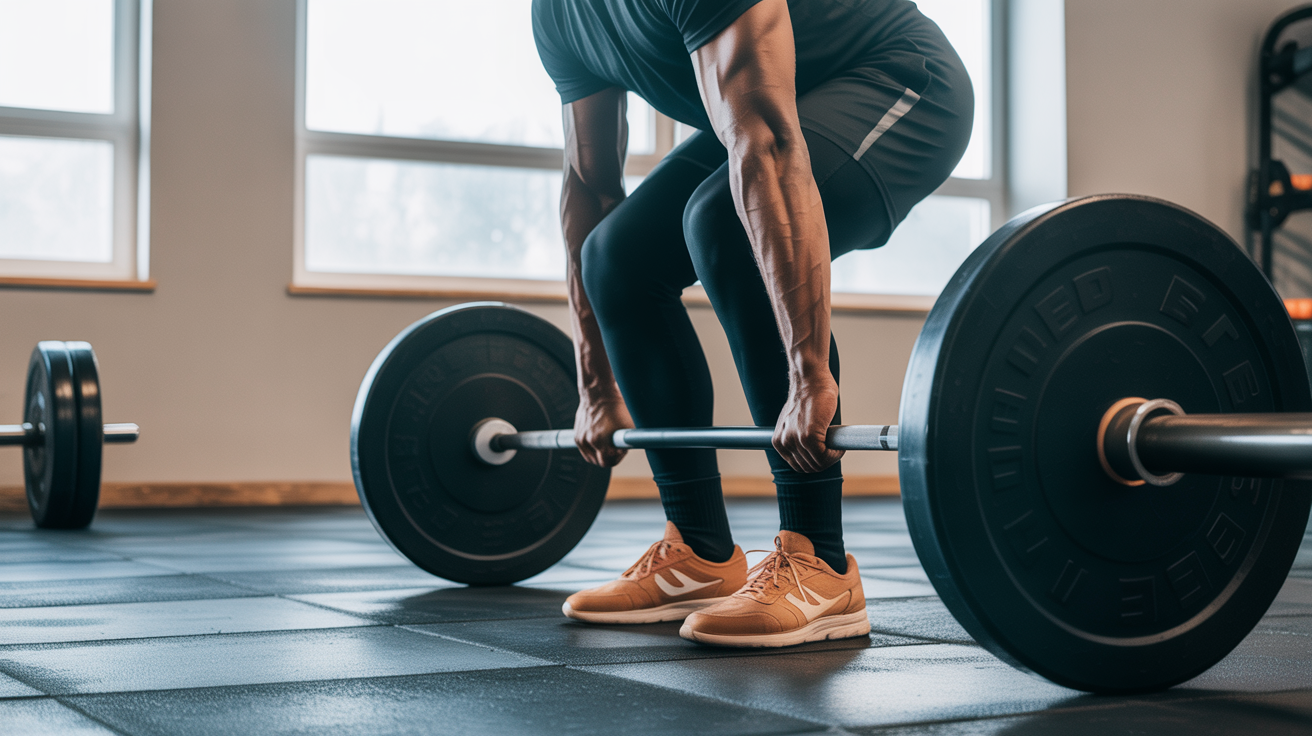
- The bar should stay close to your body the entire way up. Not brushing the shins painfully, but close enough that you could.
Grip
- Hinge at the hips and reach down to grip the bar just outside your shins.
- For beginners, a double overhand grip (both palms facing you) is fine. It's the safest starting point.
- Grip the bar hard, squeeze it like you're trying to leave a dent. Grip engagement transfers to full-body tension.
Spine and Bracing
- Before you pull, set your back. Think "proud chest", lift your chest slightly and feel the tension spread across your upper back.
- Take a big breath into your belly and brace your core as if you're about to take a punch. This is called the Valsalva maneuver and it creates intra-abdominal pressure that protects the spine.
- Your back should be flat or very slightly arched at the lower back. If you see your lower back rounding in a mirror or video, you're not ready to pull yet.
The Pull
- Without jerking, push the floor away from you. Think "leg press" not "yank the bar up."
- The bar travels in a straight vertical line, staying close to your legs.
- Hips and shoulders rise at the same rate. If the hips shoot up first, the lower back takes over, not what you want.
- At the top, stand tall. Hips locked out, glutes squeezed, not hyperextending back.
The Lower
- To lower the bar, reverse the movement: hinge at the hips first, then bend the knees once the bar passes them.
- Control the descent. Dropping the bar is fine in a powerlifting meet; in a gym with standard plates, lower it under control.
Common Mistakes and How to Fix Them
These are the errors that lead to missed lifts and, over time, injuries. Most are avoidable if you know what to look for.
| Mistake | What It Looks Like | Fix |
|---|---|---|
| Rounding the lower back | Lower spine curves forward at setup or during pull | Reduce weight, drill the hip hinge, brace harder before pulling |
| Jerking the bar | Sudden yank at the start; bar swings away from body | Start the pull with leg drive, not an upper-body tug; think "take the slack out" first |
| Bar drifting forward | Bar swings away from legs mid-pull | Keep lats engaged ("put your shoulder blades in your back pockets"); bar stays over mid-foot |
| Hyperextending at lockout | Leaning back hard at the top, ribs flaring | Stand tall, glutes squeezed, ribs down, lockout is neutral, not a backbend |
| Looking up | Head craning back, neck straining | Neutral head position: eyes slightly down in front of you, spine follows |
| Hips too low (squatting the bar) | Setup looks like a squat, torso too upright | Hinge more; hips should be between shoulder height and knee height, not at knee level |
If you're seeing these in video review of your lifts, the fix is almost always the same: less weight, more practice with the movement pattern.
How to Start: Light Weight and Rack Pulls
Start Lighter Than You Think
Most beginners significantly underestimate how much technique breaks down under load. Start with just the bar (45 lbs / 20 kg), or even lighter with smaller plates if the standard bar height doesn't work for your proportions. You're learning a motor pattern. The weight will come.
A sensible starting progression for a beginner:
- Week 1–2: Bar only or 65 lbs, 3 sets of 5. Focus on setup.
- Week 3–4: Add 10 lbs per session if form holds.
- Add weight only when your form on the previous weight was solid all the way through.
Rack Pulls and Blocks
If the bar-from-floor position is difficult, because of limited hamstring flexibility or proportions that make it hard to keep a flat back, start with rack pulls. Set the bar in a squat rack at just below knee height. This shorter range of motion lets you practice the pull with better position while you build flexibility and body awareness.
As your hip hinge improves, work the bar lower over weeks until you're pulling from the floor.
Deadlift Variations for Beginners
The conventional barbell deadlift is the standard starting point, but it's not the only option.
Romanian Deadlift (RDL)
The RDL starts from standing, not the floor. You hinge back until you feel a deep stretch in your hamstrings, then drive your hips forward to return. It's excellent for learning the hinge pattern and building hamstring strength. Load it lighter than your conventional deadlift.
If you want to build the hip hinge before tackling the barbell from the floor, the RDL is a smart stepping stone. It also pairs well with squats in a beginner full-body program.
Trap-Bar Deadlift (Hex-Bar)
The trap bar puts you inside the frame of the bar rather than in front of it. This shifts the load slightly, allows a more upright torso, and reduces the technical demand on the lower back. Many coaches recommend it as the safest first deadlift variation for beginners.
If your gym has a trap bar, there's nothing wrong with starting there and transitioning to conventional later.
Dumbbell Deadlift
Two dumbbells held at your sides let you practice the pull pattern with very light loads, no bar balance issues, and easy setup. Good for an absolute beginner's first session or as a warm-up pattern drill.
Building a Safe Training Habit
How Often
Two deadlift sessions per week is plenty for a beginner. Your nervous system and posterior chain need recovery time. Many beginners do well with once per week as part of a full-body routine alongside bench press and overhead work.
When to Stop
Stop a set immediately if you feel:
- Sharp or shooting pain in your lower back, hips, or legs
- Numbness or tingling down your legs
- A sudden "pop" or snap anywhere
These are not normal training sensations. Lower-back fatigue after a hard set is normal; sharp pain is not. If pain persists after stopping, see a doctor before your next training session.
Video Your Sets
Filming yourself from the side is the single best feedback tool available. Watch for back rounding, bar path, and hip-rise rate. Most beginners are surprised by what their form actually looks like versus what they imagine. Review every session for the first few months.
Get a Coach for Your First Few Sessions
A one-hour session with a qualified strength coach who can watch you deadlift will teach you more than weeks of self-guided practice. If that's not accessible, many coaches offer video-review services where you upload a clip for feedback. The investment is small; the injury savings are large.
The deadlift is also one of three foundational lifts worth learning in combination. Once the hinge is solid, building the overhead press alongside it gives you a balanced upper-body pulling and pressing program.
Frequently Asked Questions
Is the deadlift safe for beginners?
Yes, when started with appropriate weight and good technique. The deadlift has a lower injury rate than many people assume. The risk comes from loading too heavy too soon and from rounding the lower back under load. Start light, prioritize form, and increase weight gradually.
Should I feel the deadlift in my lower back?
You may feel some fatigue in the lower back after hard sets, that's normal, since it's a spinal erector exercise. What's not normal is sharp pain, shooting pain, or pain that persists the next day. If you feel either of those, stop and get it checked. A neutral spine under load is the goal; if your lower back is rounding, reduce the weight.
How do I know if my back is rounding?
Film yourself from the side. A rounded lower back looks like a C-curve in the lumbar region. You might also notice your hips rising faster than your shoulders at the start of the pull, which often means the legs are giving out and the back is compensating. The fix is always the same: reduce weight and re-drill the setup.
What's the difference between a deadlift and a squat?
The squat is primarily a knee-dominant movement, hips drop low, torso stays upright, quads do most of the work. The deadlift is hip-dominant: hips hinge back, torso leans forward, and the posterior chain (glutes, hamstrings, back) does most of the work. They train different movement patterns and muscle groups, which is why most good beginner programs include both.
How much should a beginner deadlift?
There's no universal number. Some beginners start with just the bar (45 lbs); others with dumbbells or a trap bar. Body weight, prior athletic experience, and individual mobility all affect what feels manageable. A reasonable first goal is pulling your own body weight for a clean set of five. Beyond that, consistent small increases over months will build a strong foundation.